Doc’s 52FLC Archives » Multilingual Blogging About America!❤️
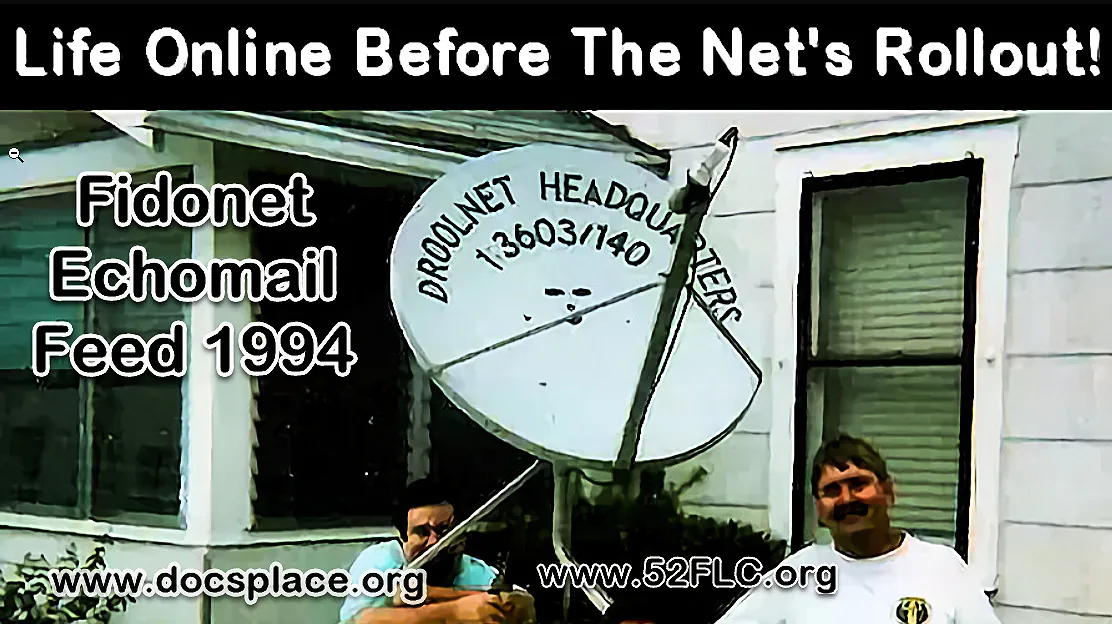
Welcome to Doc’s 52FLC Multilingual Archives. My name is Ed Koon, AKA Doc and FidoSysop. I am a former computer bulletin board system operator (SysOp) turned net hobbyist webmaster. I hang out online and keep up with tech. This website is a hobby and does not attempt to generate revenue. When the internet became public, I started studying its benefits. And here I am, hanging out in cyberspace! 🇺🇸
If you’re curious about what the 52FLC stands for, 52 is my birth year. FL refers to Florida, and the C refers to Cracker. Original Floridians were referred to as Crackers. That term goes way back to the early days of Florida. It was quite popular when I was growing up in Downtown St. Petersburg, but it’s rarely used these days. The TLD extension goes back to the Internet’s early days. The. COM represents Commercial usage, and .NET represents Networks and Internet Service Providers. Finally, .ORG represents Organizations such as mine. That was in 1995 when the Internet was born.
Here is some documentation on the word/term FL Cracker courtesy of the fine folks at Wikipedia: Cracker was used during the Elizabethan era to describe braggarts and blowhards. The original root of this is the Middle English word crack, meaning ‘entertaining conversation’ (which survives as a verb, as in “to crack a joke”);
Thank you for tuning into this video. If you are interested in more information make sure you subscribe to this channel! Also I am launching a Patreon account later this year where there will be tons of videos on Florida Cracker Cowboys, Buckaroos, Vaqueros, etc. Viideo credit, BroomtrailCountry/YouTune
My self-education is by studying something and figuring it out, such as learning how the net works and search engine optimization (SEO), which I prefer to call search engine manipulation. I was cheated out of an education when I was kicked out of third grade and sent to a particular special educational school named Nina Harris. It was a big brick building with no windows and no grades, just a place to hang out and learn how to skip school and other stupid stuff. The school board did this with children they determined to be uneducable. I was slow, but eventually got it. I learned the hard way in the used car business, such as bidding against the soda machine, and other necessary skills of the used car dealer trade, such as the dealer-only auctions. Those auctioneers are pros, so slip them a crisp Ben, and they will work for you! Much like Democrat Politicians! 😏
I’ve got many stories to tell, other than politics, but it’s an election year, and our homeland heeds every patriot’s help to save her! 🇺🇸 One I recently published is about James Earl ‘Doc’ Webb, who founded Webb’s City and made St Petersburg, FL, world-famous in the 1950s. And the Green Benches, the Million Dollar Pier, and more.
I wished I had a smart businessman like Donald Trump to hang out with when I was younger. The man built an excellent representation and wants a subcontracted job done according to the material and labor specifications.. If a subcontractor cuts corners to pocket the extra cash, that person might not get paid! It’s Business, plain and simple, and Mr. Trump expects the job to be done to his specifications. It reminds me of that Towering Inferno movie. That’s what cutting corners in that business can lead to! 😥


![Ed Koon Doc]s Author Bio](https://www.52flc.org/wp-content/webp-express/webp-images/uploads/2024/04/doc-bio.jpg.webp)